One you might like to see.
Printed From: Bavarian-Board.co.uk - BMW Owners Discussion Forum
Category: Technical & Model Specific Forums
Forum Name: Detailing & Car Care
Forum Discription: Want advice on how to give your car some TLC?
URL: http://www.bavarian-board.co.uk/forum_posts.asp?TID=45758
Printed Date: 02-May-2024 at 00:18
Topic: One you might like to see.
Posted By: gavb
Subject: One you might like to see.
Date Posted: 12-October-2009 at 16:26
|
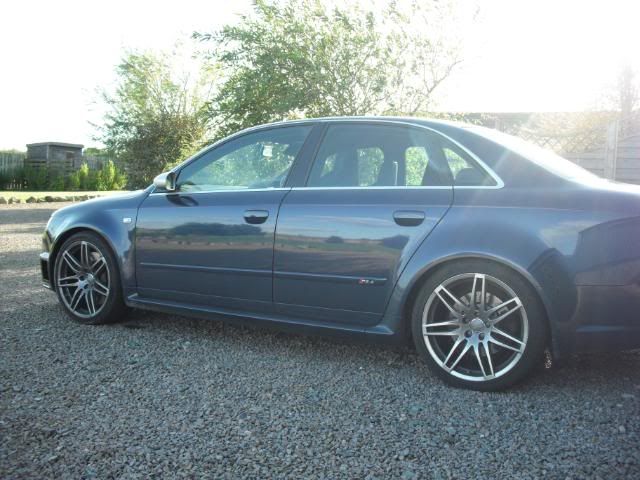
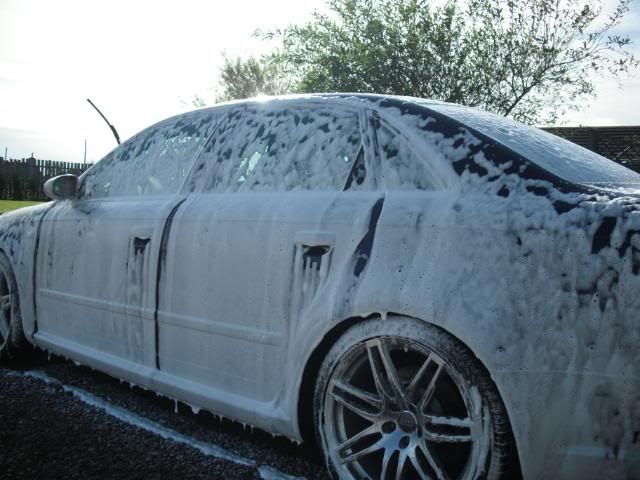
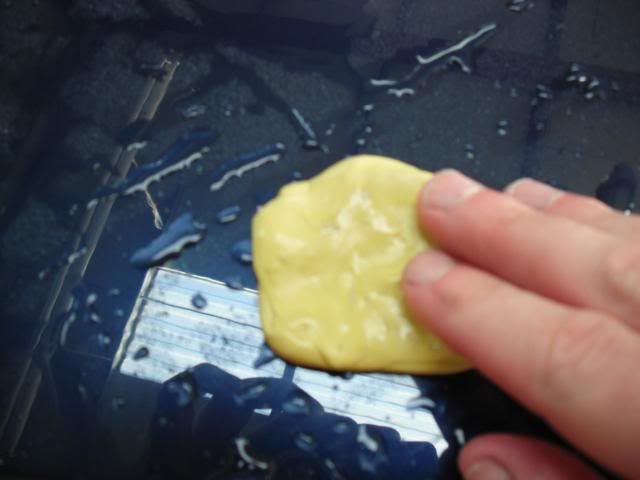
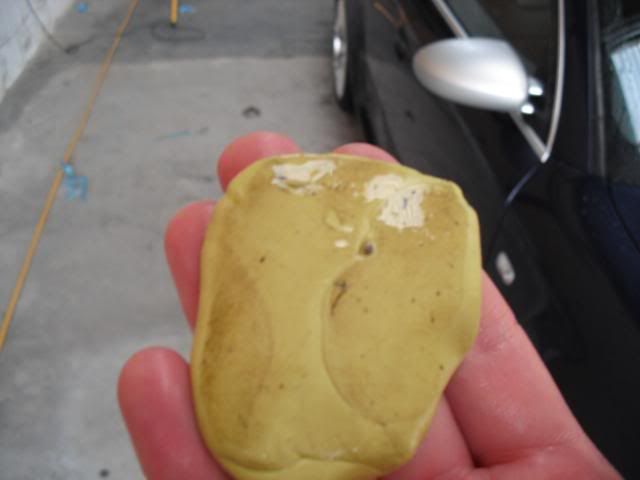
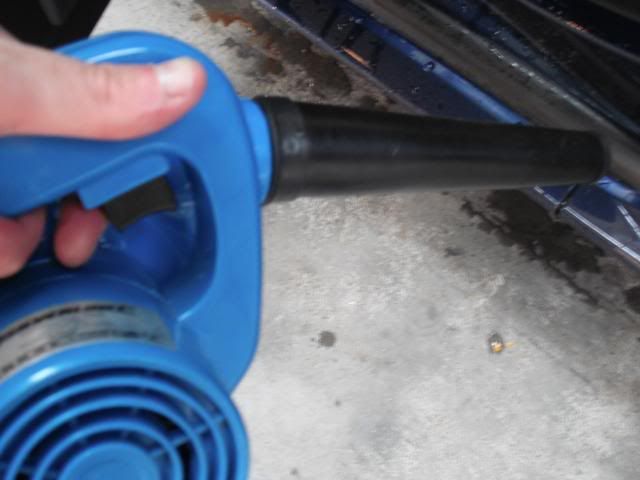
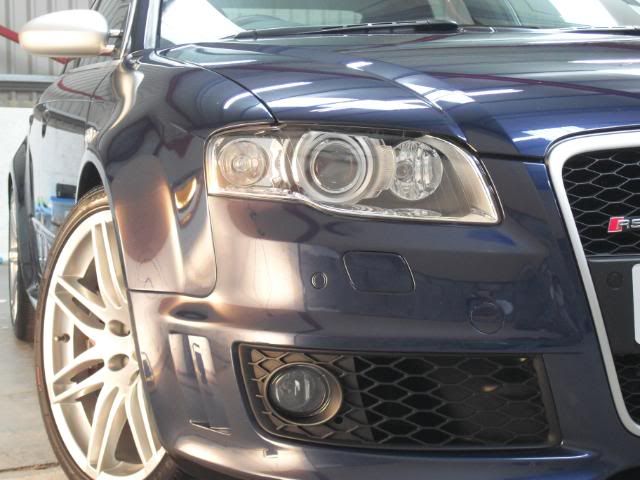
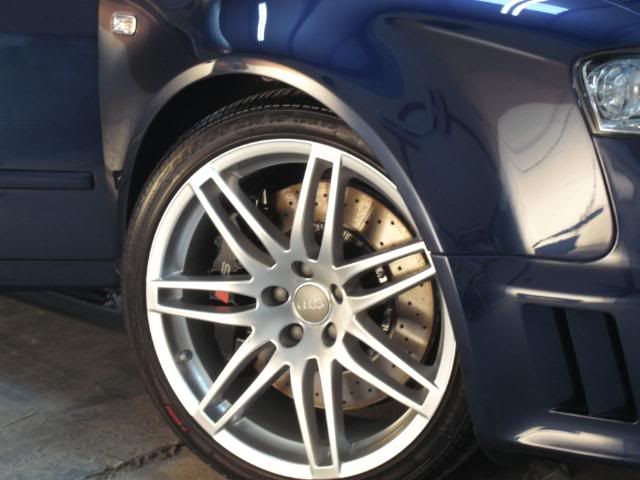
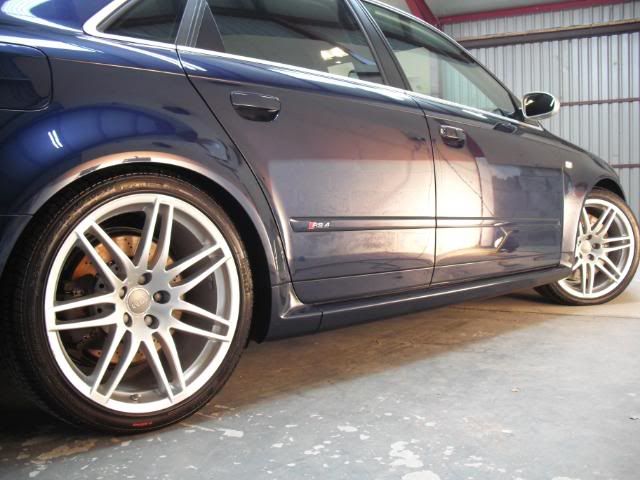
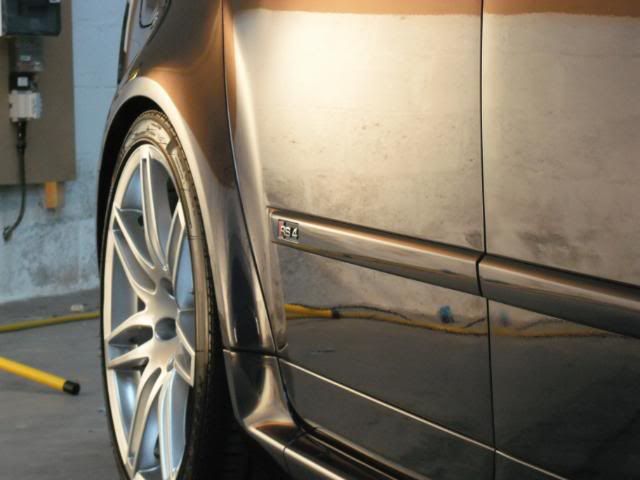
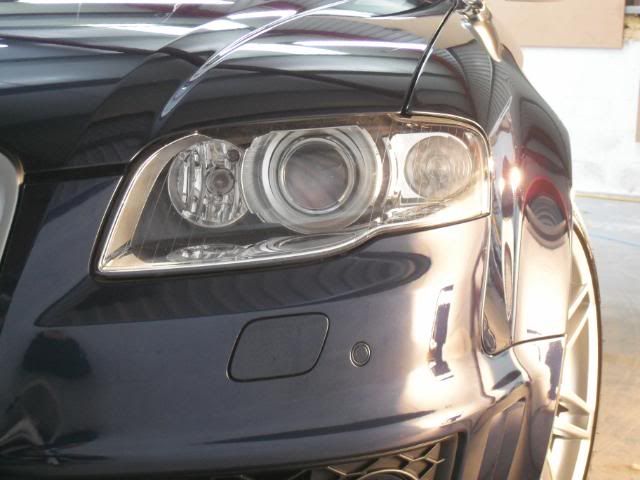
I know its not a beemer but its still an awesome car so thought id share with you, had a last minute cancellation so free day today which gives me time to do a write up of the latest detail completed last week. This RS4 was recently purchased by a very good client of mine and was in need of some attention, so after the initial inspection it was agreed that a full correction detail would be carried out. Heres the car when it arrived looking a little dirty and in need of a good :detailer:.
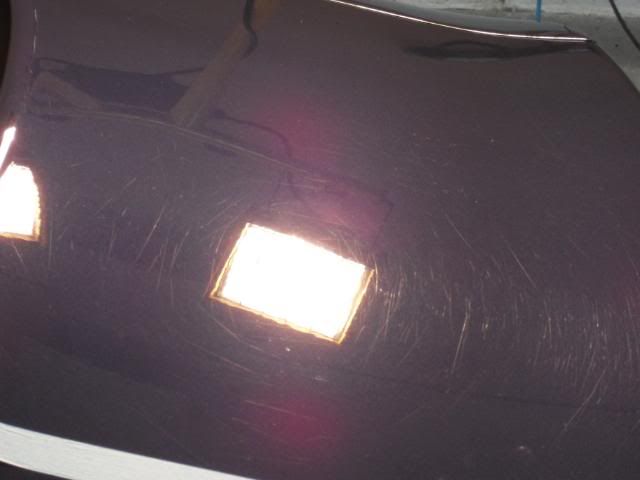
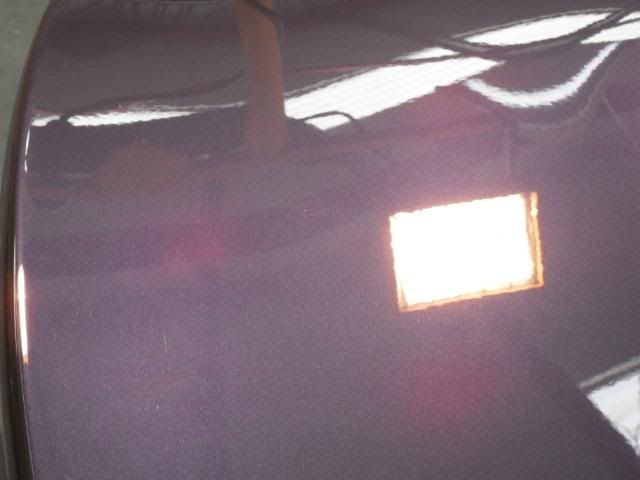
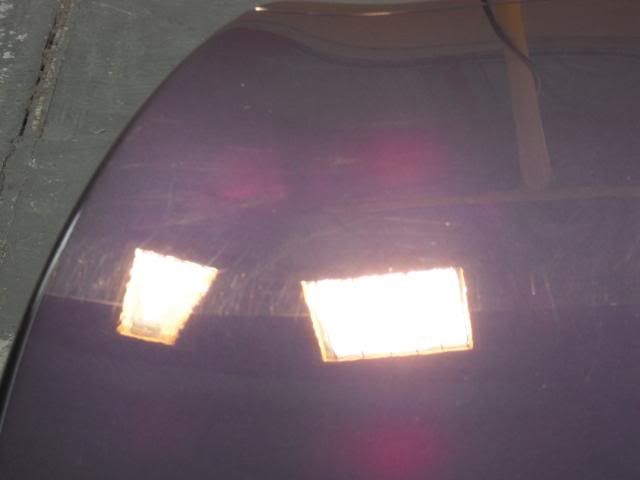
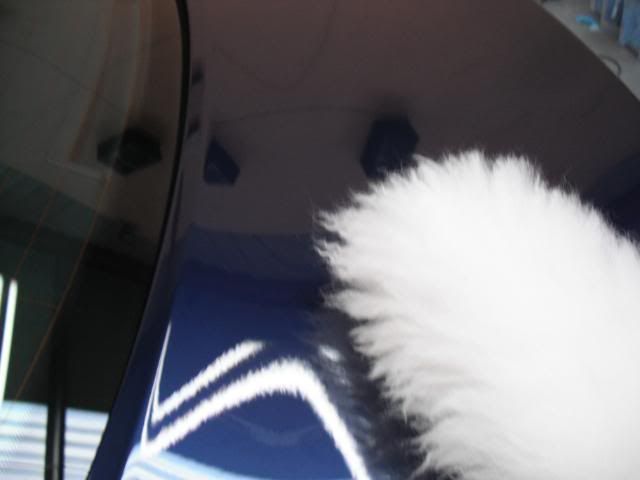
Bright and early the next moring i got to work capturing and removing the defects. The boot panel,roof and bonnet were the worst areas so i started on the boot panel and after trialling some polish pad combo's i settled on 3M FCP with a touch of 3M UF to reduce dusting and improve workability on a 3M yellow polishing pad.
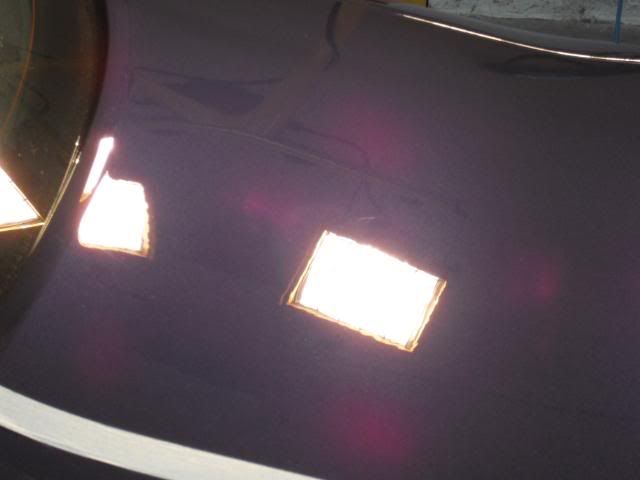
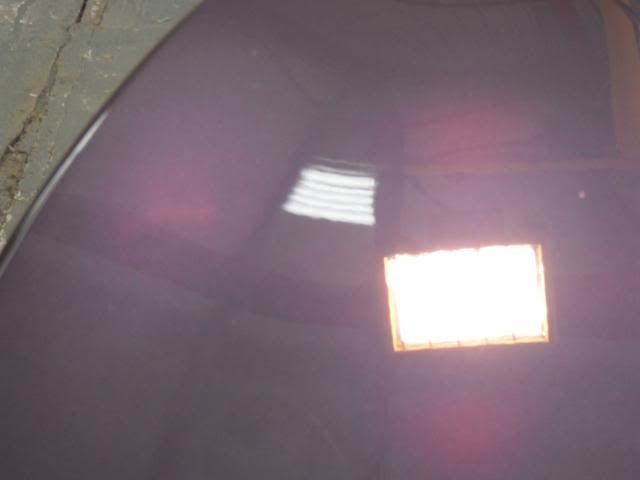
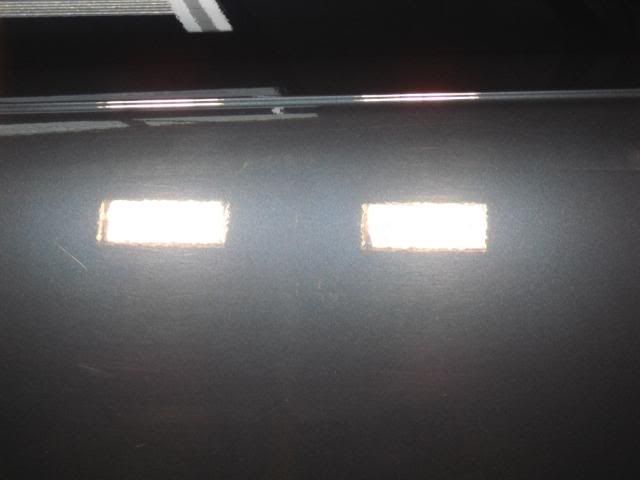
And after 2 hits.
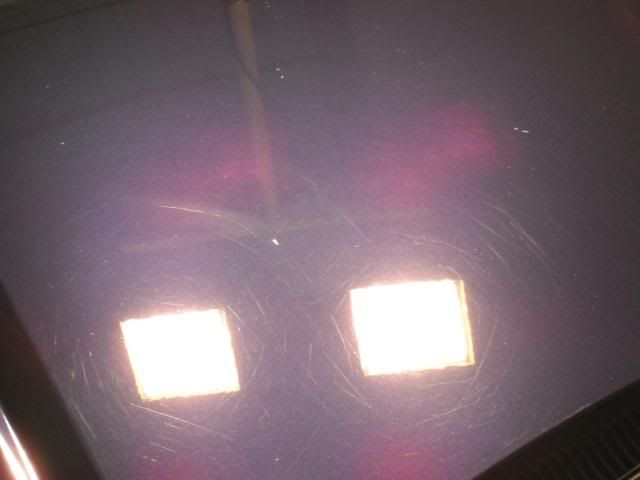
Again boot before
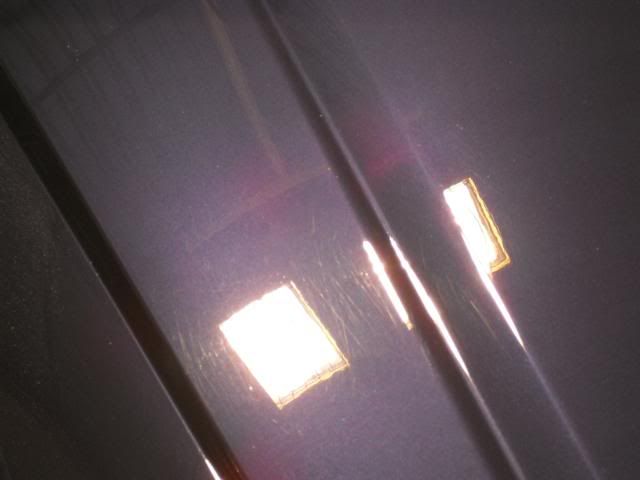
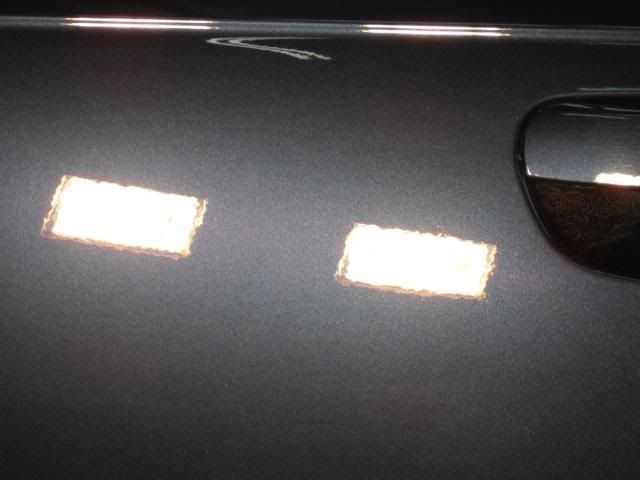
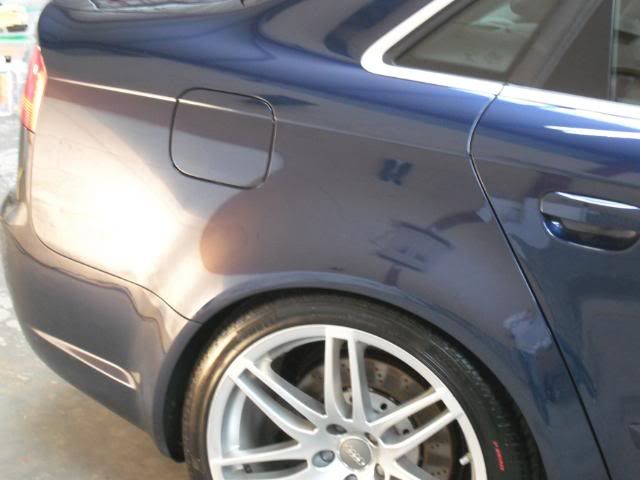
Before
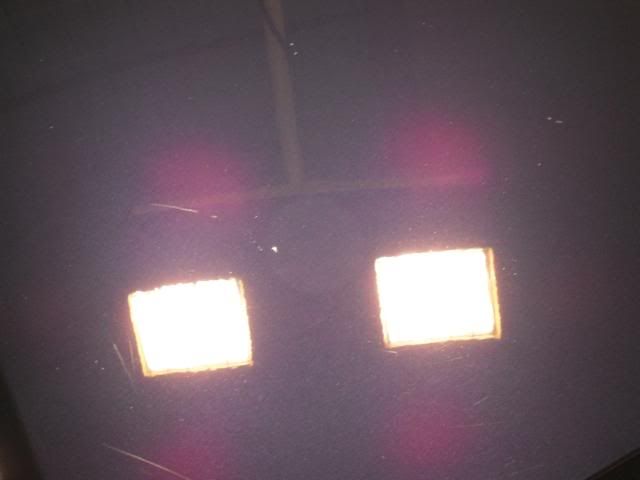
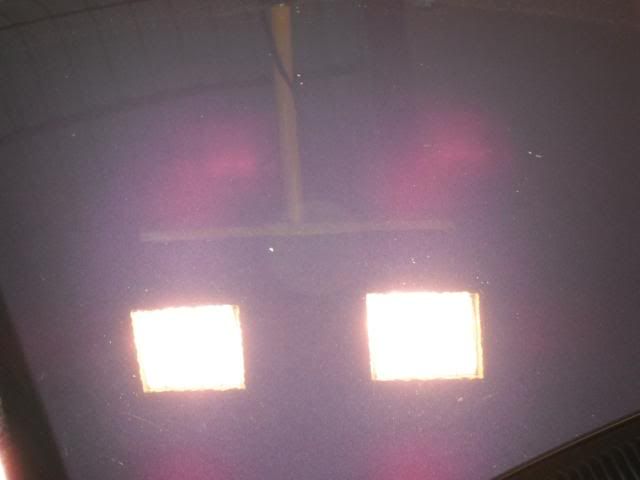
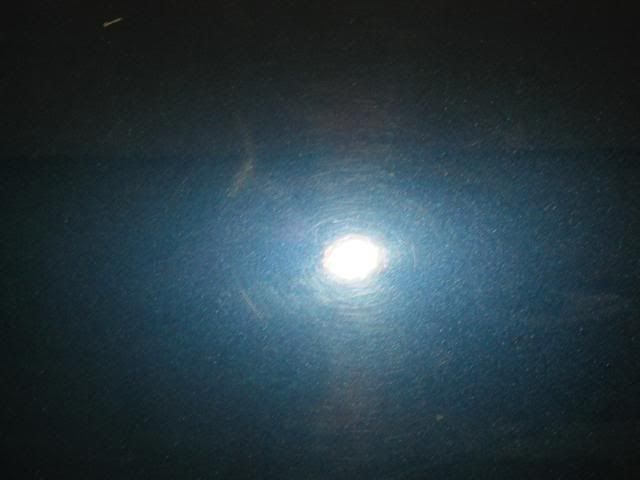
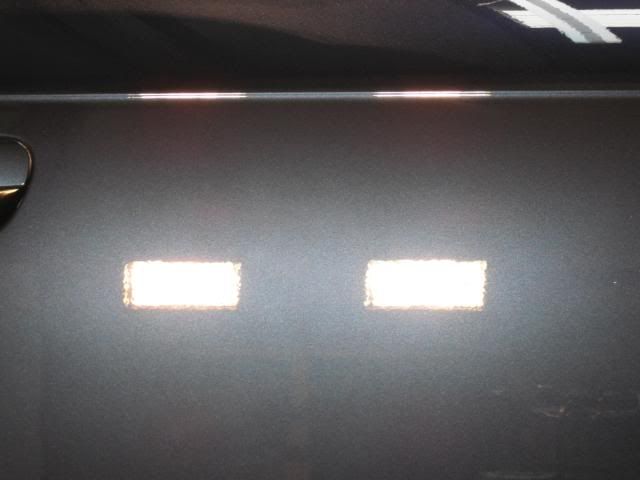
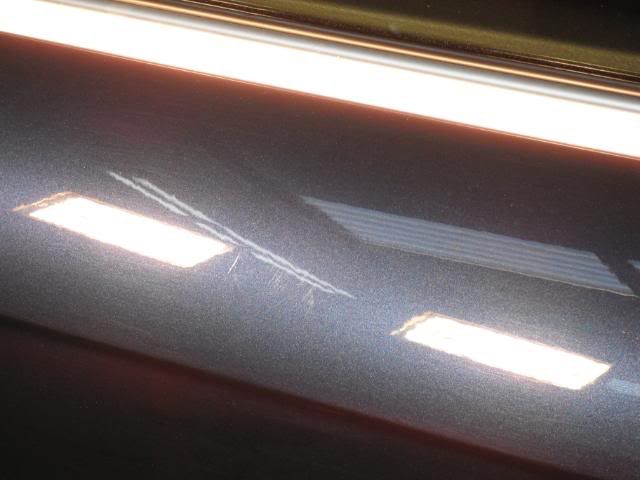
Couple of sun gun shots for good measure.
After correcting the bonnet,roof and top of boot i was pooped and it was getting pretty late so called it a day.
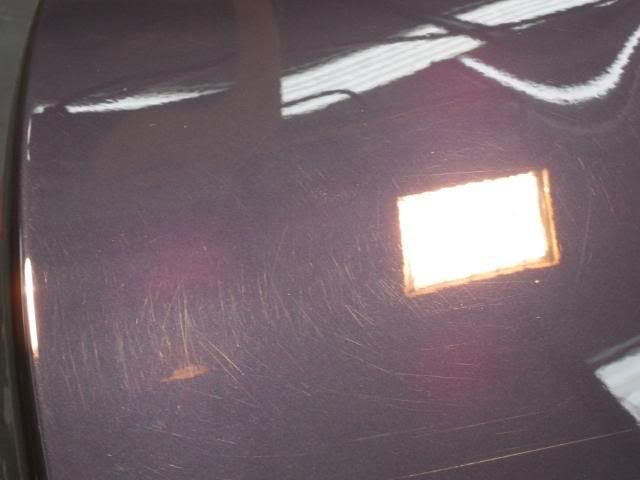
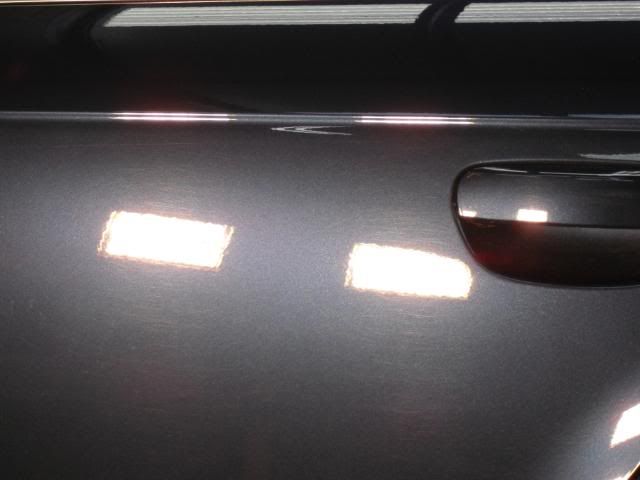
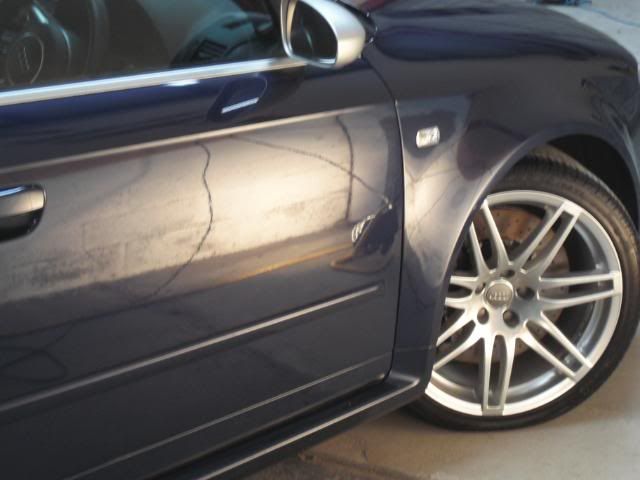
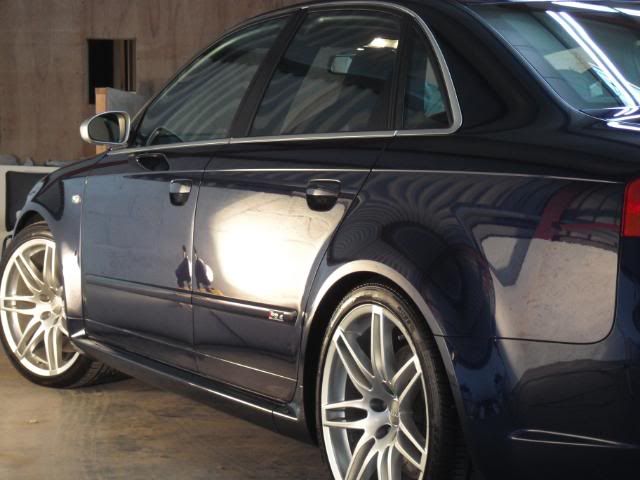
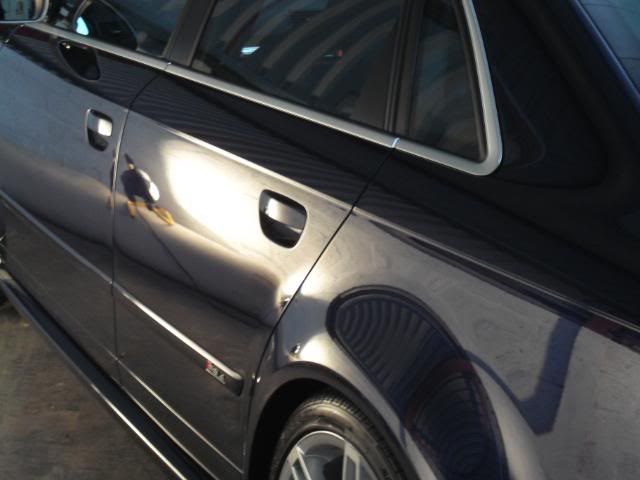
Next day i began on the doors which werent quite as bad as the boot,bonnet and roof so i played around again with polish/pads and settled on IP3.02 again on a 3M yellow polishing pad which had the desired effect so no point in using a more aggresive combo, i always use the least aggresive approach to acheive the desired results-common sense really.
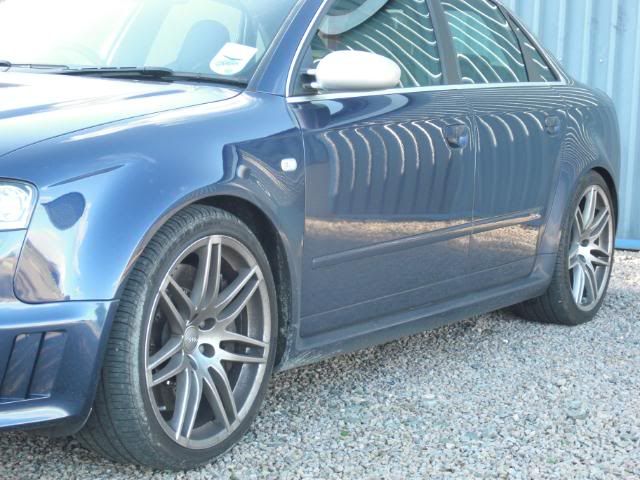
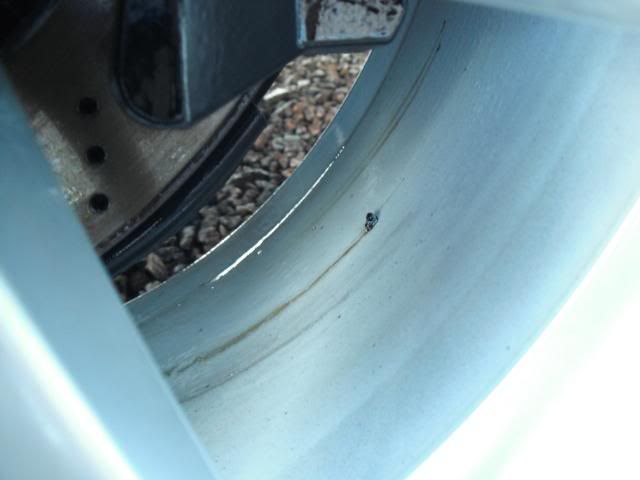
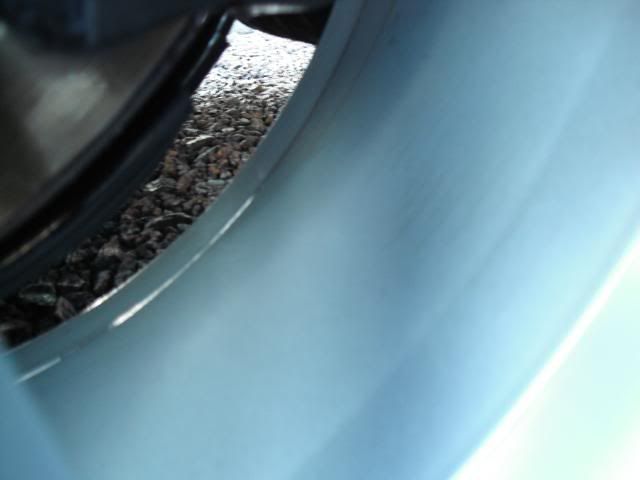
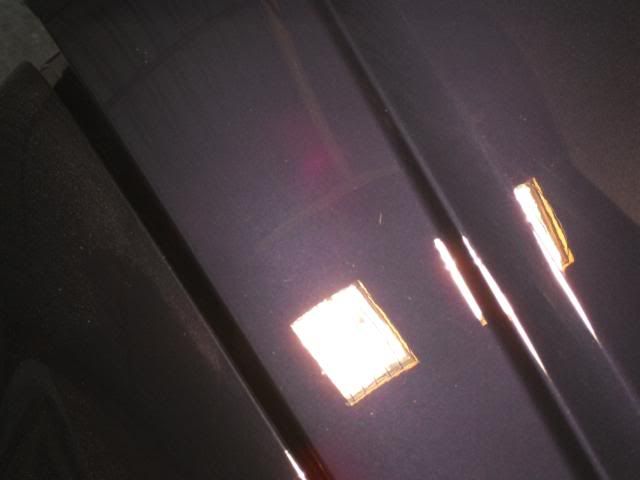
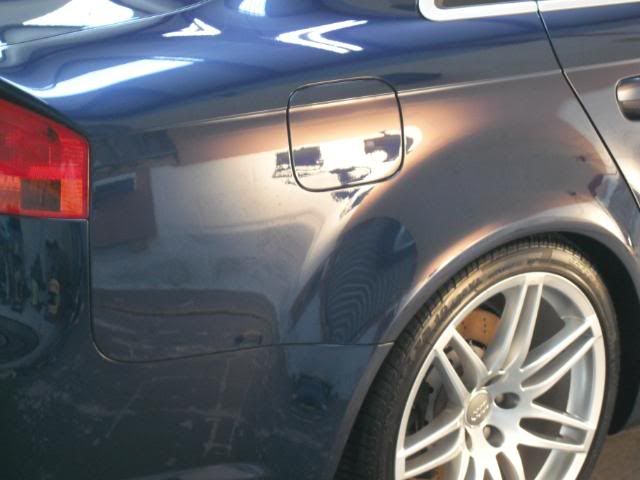
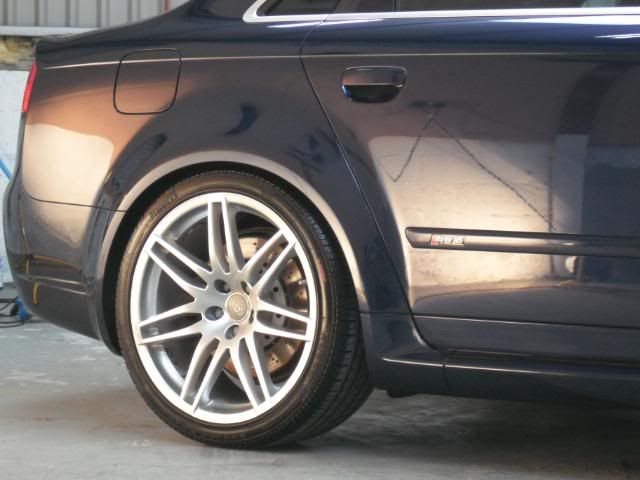
Some more correction pics from around the car. Before
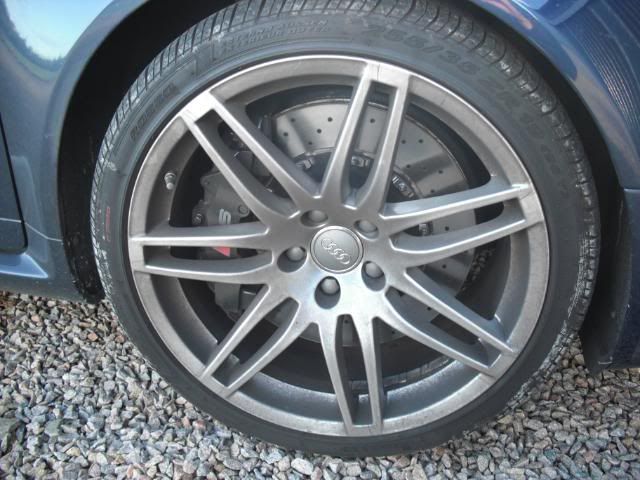
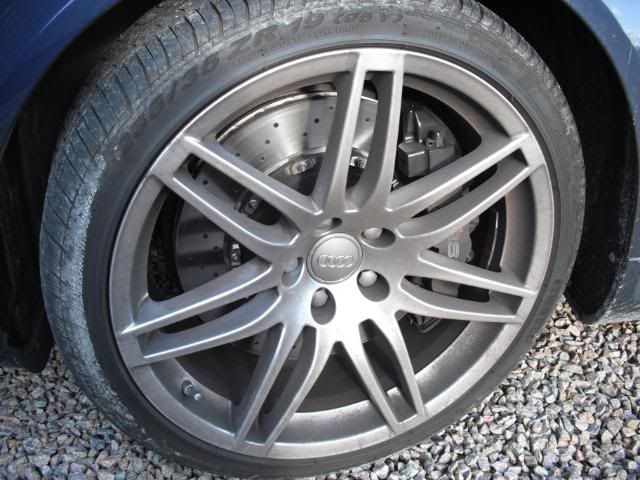
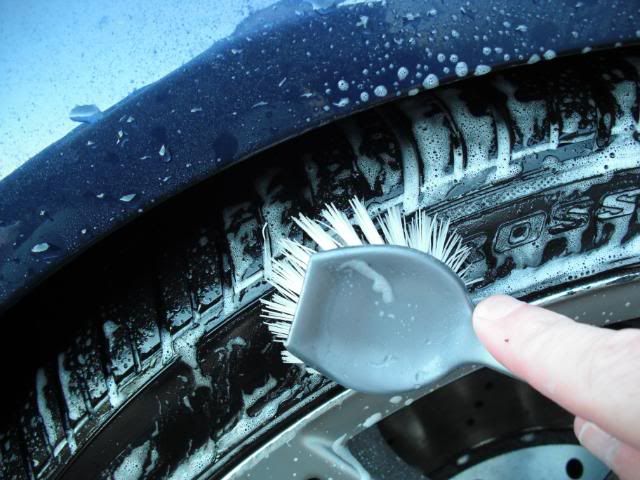
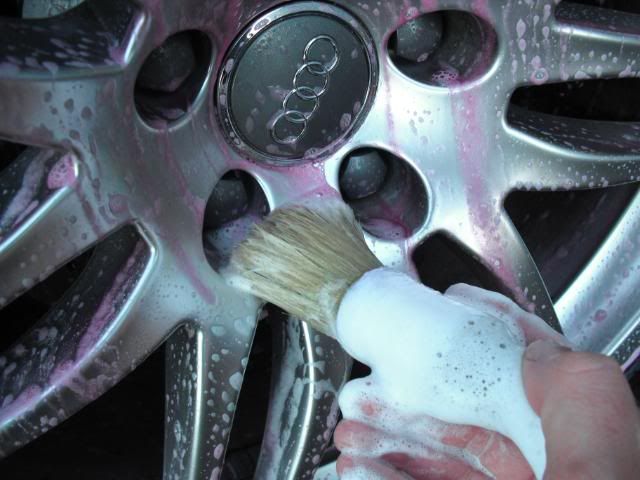
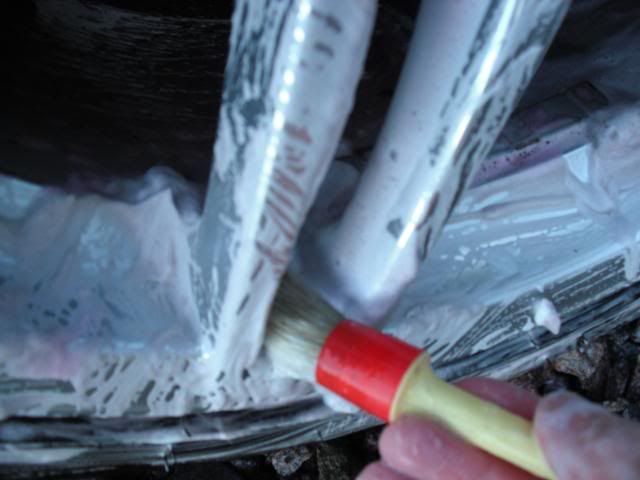
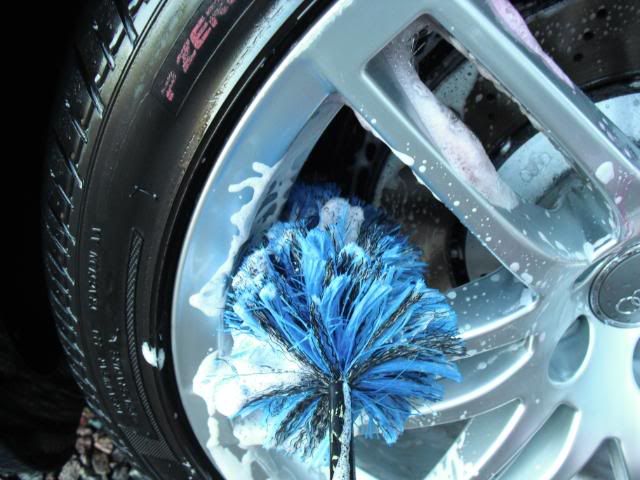
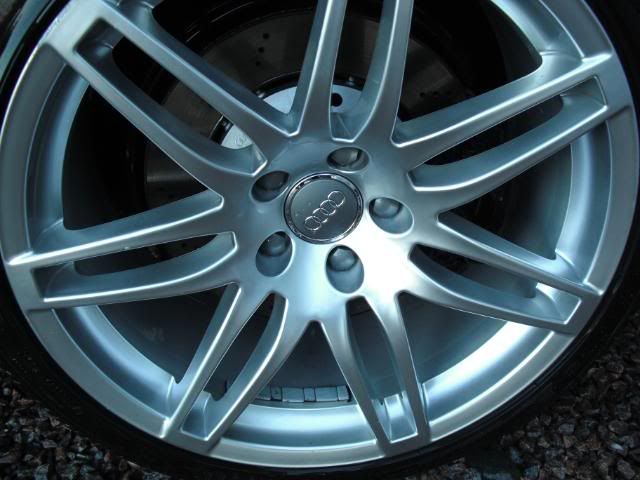
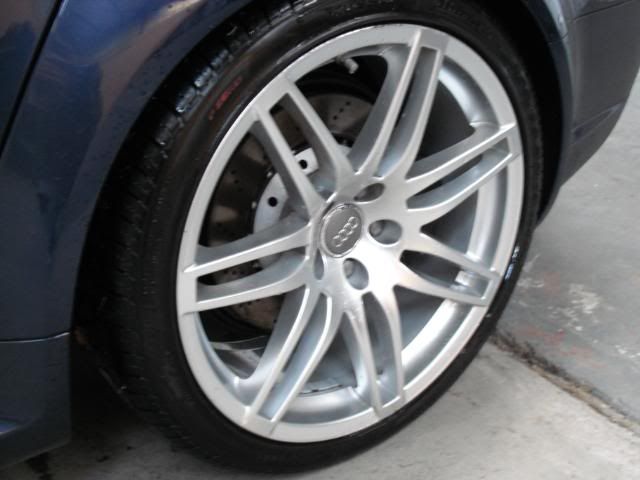
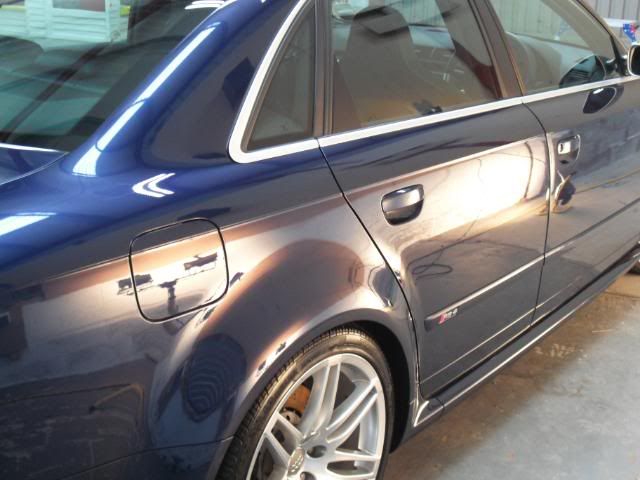
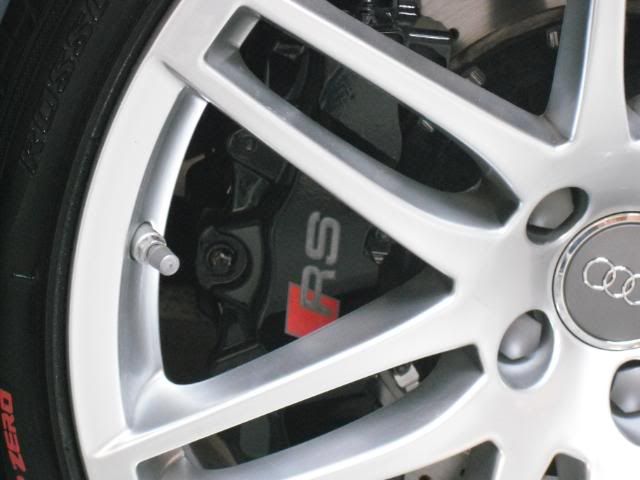
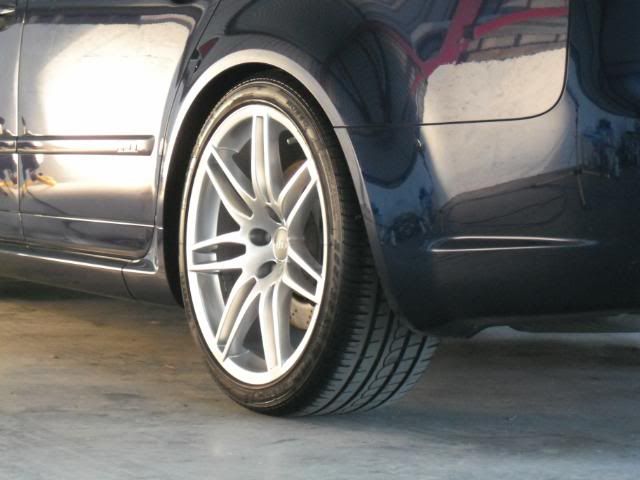
Protection was in the form of two coats of Z2 followed by three applications of Z8 with Z6 wipedowns in between, wheels sealed with poorboys sealant and tyres dressed, all other tasks completed glass,trims, exhausts polished etc etc.
Thanks for looking. Rgds Gav |


Replies:
Posted By: Pete330
Date Posted: 13-October-2009 at 11:22
|
Great work and a cracking motor also ------------- Previous: E36 318is coupe, E36 323i coupe, E30 316 saloon, E30 318 saloon, E46 330ci Sport Conv E92 325d M Sport(3.0),With Loads of gadgets Current: 116i Sport F20 |
Posted By: Peter Fenwick
Date Posted: 13-October-2009 at 21:22
|
Nice job. How much do you charge for a job like that?
------------- Entering an age of Austerity and now driving a Focus Diesel. |
Posted By: thepits
Date Posted: 13-October-2009 at 21:30
 ------------- Cats know your every thought. But don't care. |
 Peter Fenwick wrote:
Posted By: gavb
Date Posted: 14-October-2009 at 15:40
|
Alas the website is not correct due to me changing a few services, im just going to offer a fixed price of �595 for a correction detail and do away with my original stage 1,2,3 paint correction as tbh it seemed to cause confusion for people. HTH
Gav
PS 10% off for all BMW CC members. ------------- |
Posted By: Peter Fenwick
Date Posted: 15-October-2009 at 09:09
|
�600!! Jesus, i'm in the wrong job ------------- Entering an age of Austerity and now driving a Focus Diesel. |
Posted By: Webdunk
Date Posted: 15-October-2009 at 16:25
Are you? �17 per hour... (and that ignores the materials costs, insurance, premises etc.) ------------- 
|
Posted By: candypuff
Date Posted: 15-October-2009 at 20:40
|
Fantastic work.... just awesome - and as you say an awesome car too
------------- 
Cars 1996 BMW M3 Evolution 2001 C5 Corvette 1989 601 s Trabant 1956 Glas Goggomobil |
Posted By: gavb
Date Posted: 15-October-2009 at 21:04
Not really sure how to take that, but its not really that expensive when you consider the work involved, in this case around 35 HRS work over 4 days so as pointed out round figures of �20/hour- Bare in mind also that this process is also the next step down from a respray which on a car like the RS4 would be thousands.
Gav ------------- |
Posted By: gavb
Date Posted: 15-October-2009 at 21:04
|
Thanks for the comments mate much appreciated.
Gav ------------- |
Posted By: vpricey
Date Posted: 15-October-2009 at 22:05
Good work Gav looking good.
------------- Paul - '87 E30 325i Sport - '99 E39 M5 - '05 E53 X5 
|
Posted By: Peter Fenwick
Date Posted: 16-October-2009 at 09:25
I missed the bit at the end where it said 35 hours! That might go some way to explaining the cost. In that case your selling your services cheap! No offence intended ------------- Entering an age of Austerity and now driving a Focus Diesel. |

Posted By: gavb
Date Posted: 16-October-2009 at 14:17
|
^^ I really based my pricing structure around �25-30/hour, but its very difficult to price a paint correction job by the hour so i offer fixed price of �595 whether it takes 20 hrs of 40 hrs, otherwise it can be confusing for customers. No offence taken Peter. Found yourself a nice 328i yet?
Gav
------------- |
Posted By: Peter Fenwick
Date Posted: 17-October-2009 at 16:06
|
No. I'm looking for a saloon really as the coupe is more expensive but in my eyes no better. Same for goes for the sport. It cost quite a bit more but offeres nothing extra that I really value except the sports suspension. However there aren't many looked after 4 drs around so I may end up with a sport coupe anyway as they seem to be cherished more so finding a good one is a lot easier. I did ring someone about a car yesterday and left a message but they are yet to get back to me. Have you sold yours yet? I saw on E36coupe.com that you have a fair bit of interest. I'm on there are Devil2575 BTW. ------------- Entering an age of Austerity and now driving a Focus Diesel. |
Posted By: gavb
Date Posted: 17-October-2009 at 16:12
|
No still got it which is not a bad thing i had hoped the price would only really attract enthusiasts/genuine buyers but had a lot of time wasters, saying that i have 3 very keen people one coming from Belfast so im expecting it'll be gone soon.
Good luck with the search if i see anything ill shout you.
Gav ------------- |
Posted By: thepits
Date Posted: 17-October-2009 at 16:29
|
Ahum - and members of this Forum? ------------- Cats know your every thought. But don't care. |

Posted By: gavb
Date Posted: 17-October-2009 at 18:15
|
Oops yeh 10% as well for this forum, its a sticky in the scotland section as i doubt any english based members would bother travelling up lol
Gav ------------- |
Posted By: thepits
Date Posted: 17-October-2009 at 19:34
, hang on i'll just go and find the passport  ------------- Cats know your every thought. But don't care. |
Posted By: Daz
Date Posted: 21-October-2009 at 20:17
|
Awesome! - I love these threads with loads of pics. Not much of a reader me... sadly the car has too many doors for my liking. Oh and it's wrong wheel drive. Do you do the detailing for Checkpoint as well, they mentioned to me they have a guy come in sometimes when I was getting my exhaust done? Good work! Daz ------------- http://smg.photobucket.com/user/silverbeastie/media/Milltek/Sig.jpg.html" rel="nofollow">  2009 E92 M3 - Milltek |
Posted By: gavb
Date Posted: 22-October-2009 at 13:57
|
^^ Thanks Daz, im not an Audi fan but these are great cars. No i dont do any work for checkpoint but i know who does.
PS If you need anymore work done on your car try Motorwerks on Forest Lane there highly recommended and would be my choice.
Gav ------------- |
Posted By: ally
Date Posted: 22-October-2009 at 23:19
Top work again Gav, well done there  ------------- E39 530i Sport Aegean Blue Edition Saab 9-5T SE Estate E36 318i loon...sold E36 323i coupe...sold |
Posted By: Daz
Date Posted: 22-October-2009 at 23:59
I agree they are great cars, they have a nice rumble to them, sound bit like Scoobies actually, which is a good thing. ------------- http://smg.photobucket.com/user/silverbeastie/media/Milltek/Sig.jpg.html" rel="nofollow"> 2009 E92 M3 - Milltek |
Posted By: gavb
Date Posted: 23-October-2009 at 18:20
|
Oh no scoobies sound terrible imo and look even worse cant stand them, im sure that M3 of yours would give the RS4 and run in the sound department.
If your ever passing Newmachar give me a shout id love a passager trip in the new M3.
gav ------------- |
Posted By: Daz
Date Posted: 23-October-2009 at 18:40
|
I have a soft spot for the scoobs, as I know quite a few of the owners and they are all a top bunch - huge enthusiasts just like us really. Might pop out for a run, and your more than welcome but I am not at home just now afraid. Hopefully I am home in time for santa. With the Milltek fitted she sound does sound pretty mean. It is also a pretty impressive piece of kit to see, very big and shiny! ------------- http://smg.photobucket.com/user/silverbeastie/media/Milltek/Sig.jpg.html" rel="nofollow"> 2009 E92 M3 - Milltek |

Posted By: gavb
Date Posted: 24-October-2009 at 15:27
|
^^ Ill hold you to that then, plenty autosol and make sure you keep em looking shiny, i bet its a hear it before you see it car.
gav ------------- |